How I solved the infinite loading problem on QNAP nas

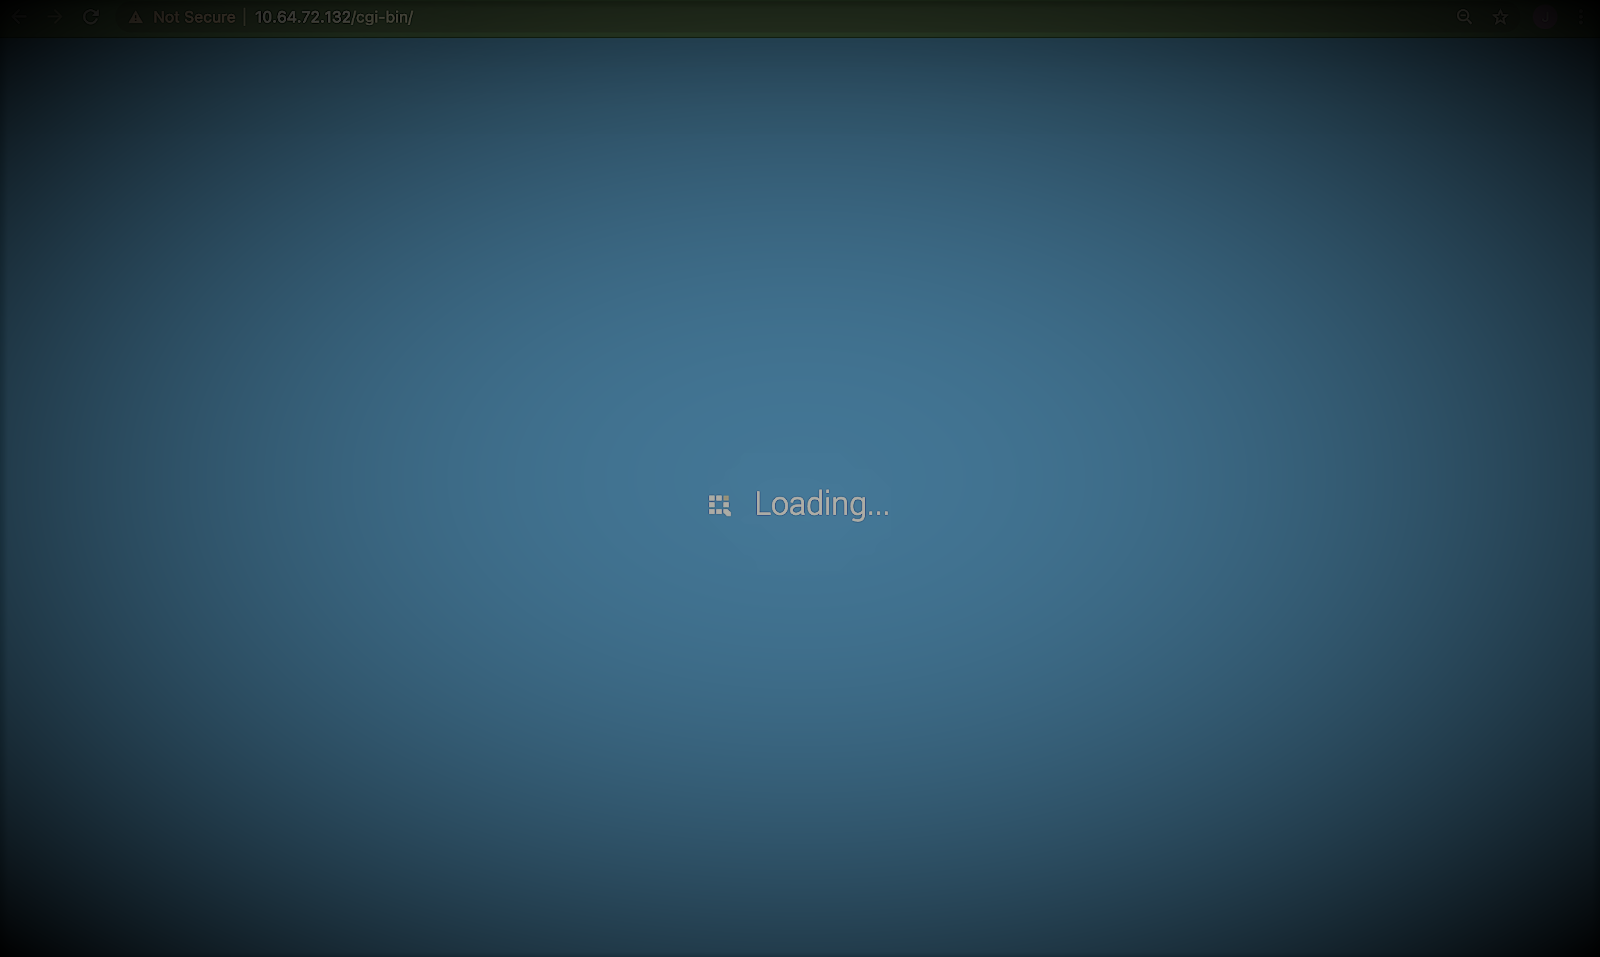
The problem of the endless blue loading screen on the QNAP.
Solution spoiler
In my case, I was able to solve the problem with the steps below (I hope they work for you too).
Symptoms
If you have arrived on this page I imagine that you too have found yourself, like me, staring at the blue loading screen for whole minutes after logging in on your Qnap nas. The problem is well known and obvious, once you navigate to the nas management page (http://ip_nas:8080) and login you are left waiting in the mythical blue loading screen without being able to continue.

Endless waiting in loading following login
The analysis
The first investigation was really about the blue loading screen shown by the browser. I opened the developer console (in this case Microsoft Edge) with CTRL+SHIFT+J and went to the “Network” tab, then re-entered the nas login credentials finding myself in the loading screen. At this point I found that there was no HTTP request actually running and no sign of the polling requests that I would generally expect to find. Well, apparently there is something about the Javascript frontend of the web page that is not working.
Another clue that there are problems loading or executing the logic behind the login web page I find in the “console” tab, as there are errors related to the use of incorrectly defined undefined Javascript objects.
The hypothesis
Trying to trace the origin of the Javascript errors I arrive in the “sources” tab at the files containing the routines necessary for the page to function. It appears that the “library” files themselves are not properly formed and/or loaded. From the extension of the loaded urls I agree that the web resources are generated using CGI technology, so perhaps something may have gone wrong during the compilation stages.
Solution
From the symptomology of the problem read on online blogs and forums, it does not seem that there is always the same cause behind the phenomenon. Therefore, the steps in the solution are intended as attempts to be performed in sequence to solve the problem (so once the problem is solved, one should not continue with the next ones).
Clearing data and cookies from the browser.
Of course, the first thing to try for this kind of error is always to clear the browser’s browsing data and/or try another browser, perhaps in incognito mode (once you open the developer console on Microsoft Edge or Google Chrome just right-click on the refresh button). Let’s call it the “off and on” of web programming.
Regenerating the user cache.
If the problem persists, we try following the suggestion of a manufacturer’s support page. Through an ssh client we access nas and execute the commands:
|
|
ssh admin@IP_QNAP_NAS.Free up space on the full partition.
If the problem persists, try checking the availability of space on the system partition where the resources for the web page reside. Once in ssh use the command:
|
|

df -h
The line to look at is the one where in the last column “Mounted On” we find “/mnt/ext” written. If the available space is 0 bytes (and the usage is 100%) something is wrong. Let’s free some space by deleting the apache manual pages:
|
|
Now we can retry the command from the previous step:
|
|
Firmware reset
If you got this far and it still doesn’t work, all that’s left is to perform a firmware restore. No fear, for this comes to the rescue the Qnap guide summarized here:
- First we retrieve the model with the command
/sbin/getsysinfo model. - We download locally to a pc the latest firmware available from the official site according to the model.
- We unzip the compressed archive on the pc.
- We upload to the nas in the Public folder the .img file contained in the firmware package. To do this without juggling with scp commands we can use the web file manager at http://IP_NAS:8080/cgi-bin/filemanager. Once the file manager is loaded we load the .img file into the Public folder.
- We run the commands in ssh (substituting FIRMWARE_FILE_NAME for the name of the .img file, possibly helping with autocompletions with the TAB key):
|
|
- Wait for the procedure to finish and finally execute:
|
|
Conclusion.
With these steps I was able to solve my problem, having the ability to connect to the Qnap nas management portal again. If the guide was helpful to you or if you want to improve it leave a comment below!