Home automation and weather: how to customize your home according to the weather forecast

Eating breakfast amidst the colors of the weather.
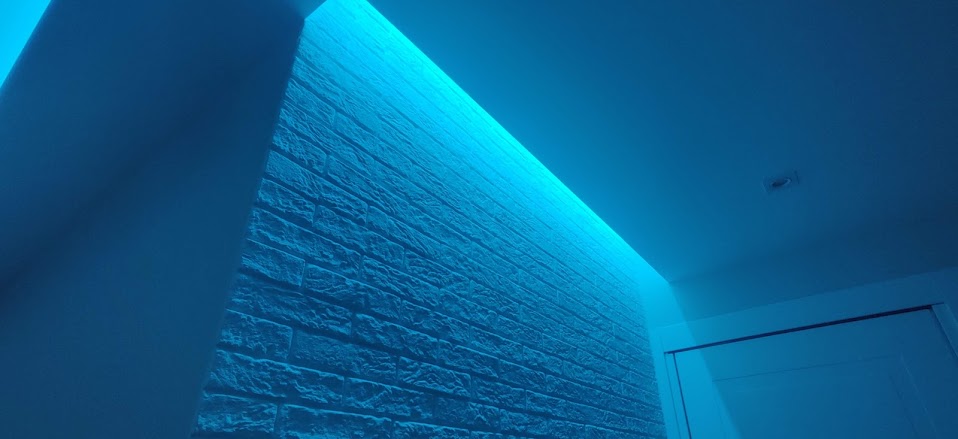
A good habit to start the day on the right foot is to get out of bed and have a soft light around the house. With an RGB lamp or colored LED strip, you can choose the color with which to light the room with the weather forecast, to combine the effect of a nice soft and dynamic colored light with what will be the mood of the day.
Prerequisites and ingredients.
- A colored lamp or rgb strip controllable by a home automation server (in my case I use rgb strips connected to a very good Shelly RGBW2)
- a home automation server where to insert the color conversion logic, in my case I use Openhab (take a look at my post on Openhab)
- the plugin on the home automation server to allow the execution of Javascript scripts (JSScripting)
- a free registration on the weather provider for the relevant ApiKey.
- a plugin or provider for weather data, in my case I use the free Openhab plugin called OpenWeatherMap Binding. The plugin must be configured with the provider’s ApiKey and the “Item” elements connected to the variables “Cloudiness”, “Rain”, “Snow” will have to be created.

Configuring weather-related items
Let’s match the colors
To begin with, let’s match the colors to the weather forecast, so that you can immediately get a clear and intuitive idea of the weather conditions with just a glance at the color. This is just one of the possible combinations that can be made, if you have any suggestions post them in the comments!
- For rain, obviously the idea is to go from a light blue, to a solid blue for heavy rain, to a purple in case of a thunderstorm with thunderbolts in the theme.
- In the case of a clear day we definitely start with a nice yellow.
- As cloudiness increases this color may veer toward a gray.
HSV coordinates
Transcribing this logic by working with RGB coordinates could be complicated, since to match the percentage of cloudiness or the amount of rain to the desired color scales we would have to find mathematical functions that are not intuitive. As engineering teaches us, when the going gets tough, a change of coordinates is necessary! To identify colors there is not only RGB coding, in which each dimension is one of the three primary colors red, green and blue. Another encoding that comes in very handy in this case is HSV or HSB, whose value space we can represent as a cylinder, having on the upper circumference the various hues (identified with degrees at 0 to 360) that fade toward the center of the upper base by decreasing saturation (in percent). At the lower base is black, and longitudinally we can measure brightness (in percent).

Coordinate HSV
The colors
| weather | % snow | % rain | % cloudiness | color |
|---|---|---|---|---|
| clear | 0 | 0 | 0 | hsv(40,100,100) |
| scattered clouds | 0 | 0 | 5 | hsv(95,95,100) |
| clouds | 0 | 0 | 95 | hsv(95,45,100) |
| light rain | 0 | 10 | - | hsv(180,100,100) |
| heavy rain | 0 | 70 | - | hsv(240,100,100) |
| thunderstorm | 0 | 100 | - | hsv(280,100,100) |
| snow | 30 | - | - | hsv(10,100,100) |
The script
We need to bring this logic to our home automation server. In my case I have chosen a JavaScript script (ECMA 262 Edition 11). The items I refer to in the code and which must already be present are:
- those related to weather, in my case I chose the 6-hour forecast: LocalWeatherandForecast_ForecastedWeatherCondition6H, LocalWeatherandForecast_ForecastedCloudiness, LocalWeatherandForecast_ForecastedRain, LocalWeatherandForecast_ForecastedSnow. *The item related to the color of our lamp LightRgbSounce_Color.
Here is the script:
|
|
Usage
Once the script has been tested, all that remains is to invoke it or match it to home scenarios.
- you can invoke the script following the pressing of a physical scenario button, so in the morning clicking on the “day” scenario could invoke the logic by gently lighting the house (I’ve already discussed this here)
- one can use the timing of Openhab, to trigger it at predetermined times of the day, such as sunrise
- you can trigger it following another event, such as turning on a lamp or appliance
- you can trigger the scenario from Google Home or Amazon Alexa voice assistants, creating an item in Openhab published on cloud platforms (if you’re interested in this topic I could write an article, let me know in the comments)